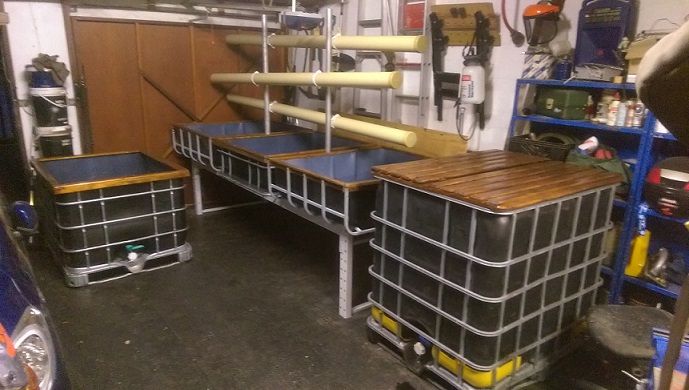
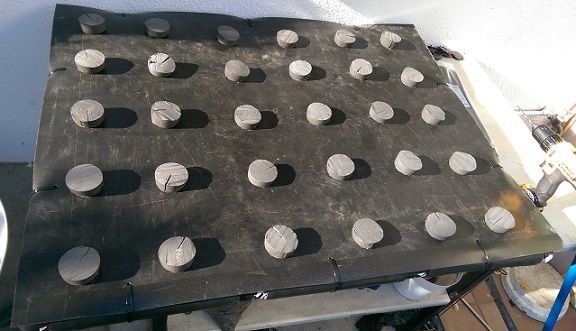
My 1st client build...
This is the Plan

And I sommer started by getting some bits.
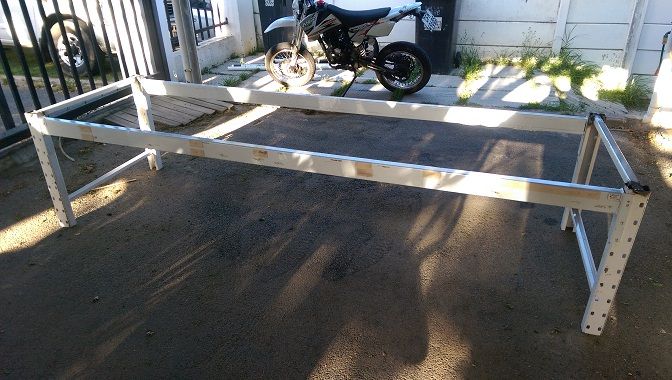
I must have looked delightful in traffic
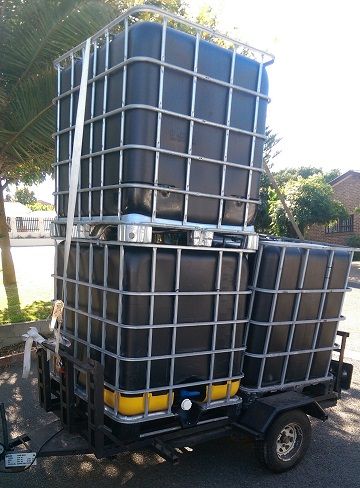
a few progress pics.
Garage is a bit chaotic at the mo.
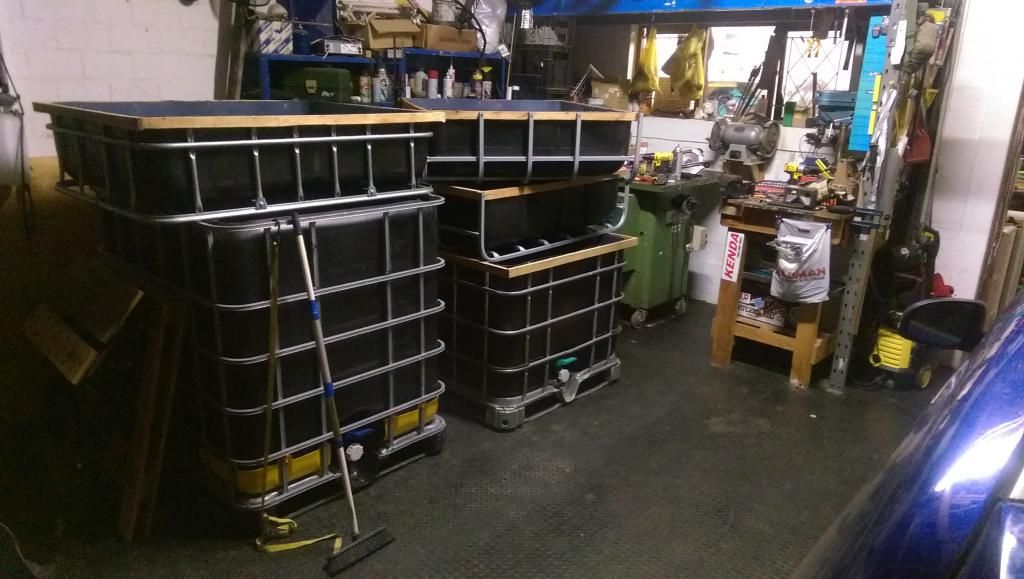
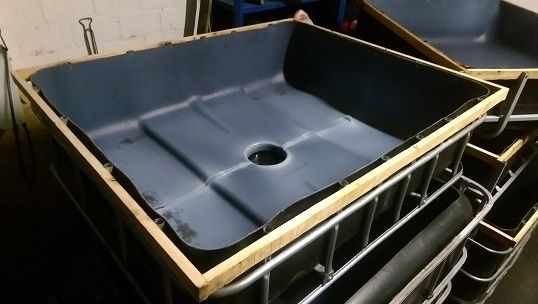
I decided to cut the sides of the IBC rather than the top and bottom traditional cuts.
This was the off-cut - The leaky stuff.
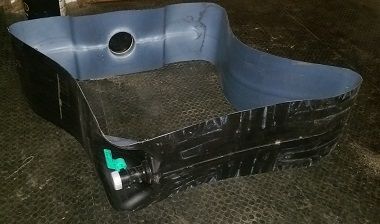
This is what the bed looks like - much less complex in terms of convolutions on the bottom.
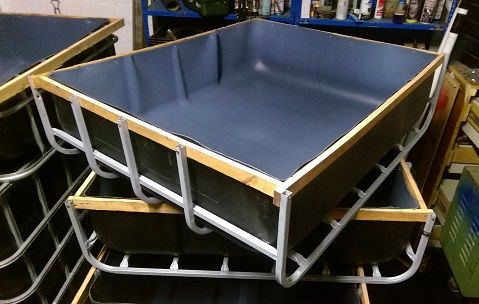
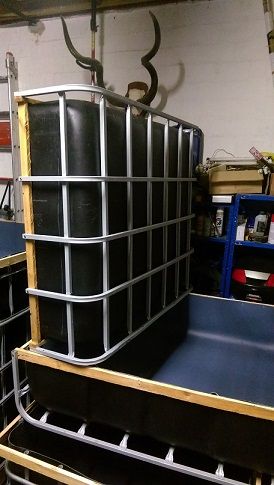 .
.As apposed to the traditional top cut.. (Had to do one traditional cut to create a sump.)
Decided to chill a bit tonight and do some admin - bit pooped
Then a cover for the fish tank.
Tags:
Replies to This Discussion
-
Permalink Reply by Mr. Python on October 31, 2014 at 6:50am
-
Permalink Reply by Jeff S on October 31, 2014 at 8:18pm
-
Interesting build. I'm anxiously waiting to see where it goes. Still trying to understand the reasoning behind the way you cut the tanks.
-
Permalink Reply by Mr. Python on November 2, 2014 at 1:24pm
-
The main reason for the cut is the support underneath.
It also made for a very smooth bed with a flat bottom and there is no cap or valve that can leak.
-
Permalink Reply by Jeff S on November 2, 2014 at 4:55pm
-
I like the concept but what about side support on the open sides? Are the tanks new and did you paint them?
-
Permalink Reply by Mr. Python on November 3, 2014 at 1:21am
-
IBC's are used they came from the wine industry, I believe. They are actually black already, there is a white layer in the inside and a black layer on the outside. They are quite rare and I just happened to be in the right place at the right time.
The side support is a slight issue but easily sorted with a wooden strut or a steel length of square tubing. In hindsight the steel strut would be a better idea because the woodwork is more labour intensive.
-
Permalink Reply by Mr. Python on November 6, 2014 at 2:59pm
-
An update
Here's a pic of the bell siphon installed.
To fit the stand pipe I cut the hole in the bed just a tad smaller than the OD on the fitting. I heated the hole in the bed with a heat gun then quickly turned the fitting into the soft plastic so it would cut/mold a thread and give a tighter fit.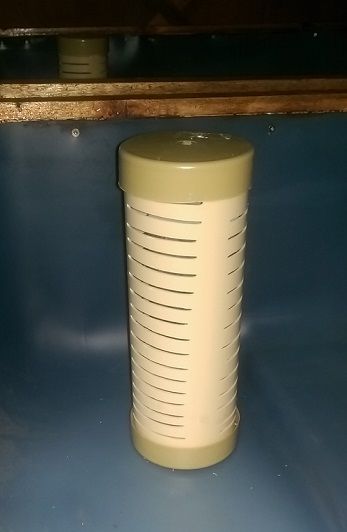
The NFT Channels worked out well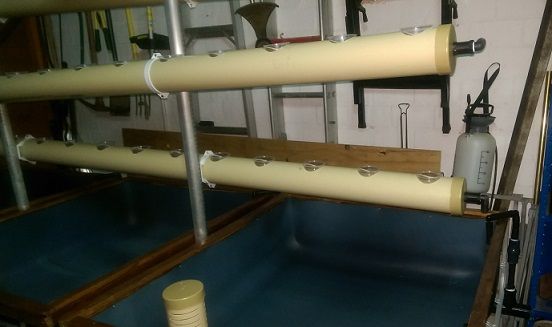
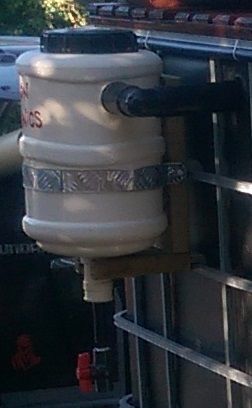
Then the signature filter came out nicely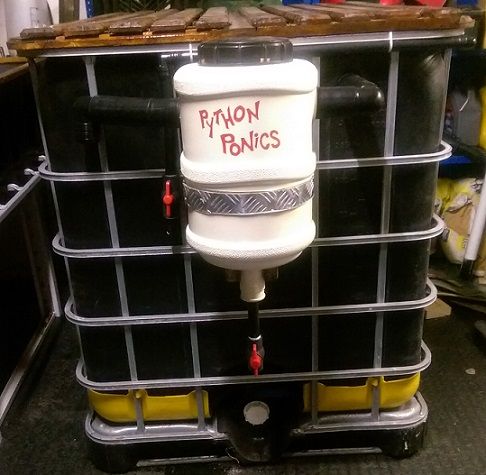
This is what it looked like all together just before we packed the trailer.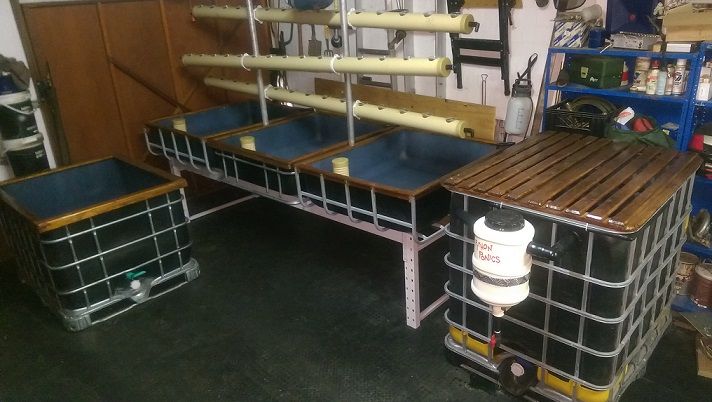
Then with a bit of teenage help ....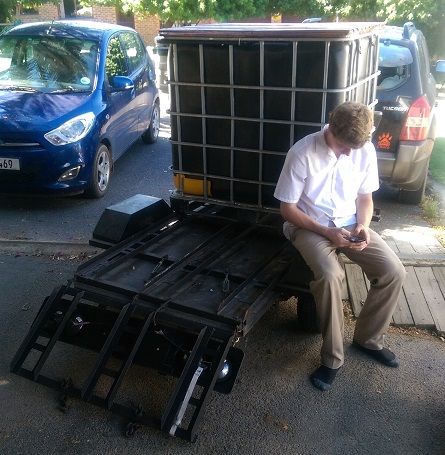
.... We were ready to roll, in rush hour traffic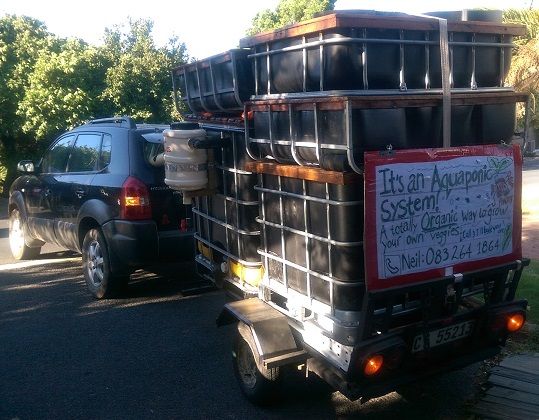
Check out the marketing for the people who must be wondering - what the hell is that?..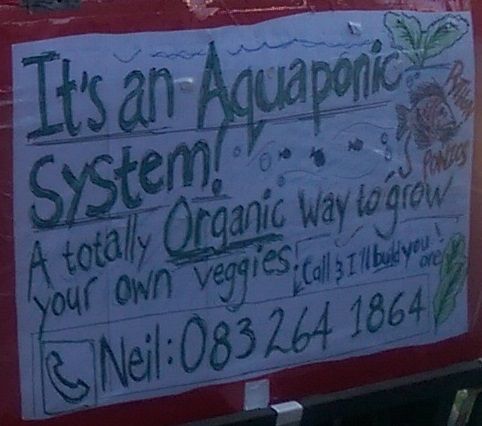
The delivery went well except for the downed biker we drove past on the way.
-
Permalink Reply by Mr. Python on November 7, 2014 at 6:33am
-
Thanks man, pity the chaps base is not ready yet cant wait to switch it on.
-
Permalink Reply by Jeff S on November 7, 2014 at 10:33am
-
As I am in the middle of expanding my single IBC with 1 grow bed to an in ground sump with 2 media beds and 1 raft bed I'm finding the GH prep is more involved than the aquaponics components. Digging , wiring, building, leveling, heating, etc. Is taking all my time. I had the tanks ready months ago. I'm almost there but right now in Florida for R&R before winter.
-
Permalink Reply by Mr. Python on November 8, 2014 at 12:51am
-
We're a bit spoilt here with the climate. The winter water temp drops to about 9°. But I was in the states on a company trip in December landed in New York then did a hop to Florida. Florida was very similar to our weather, but New York all that snow wow that must be a challenge.
I hear you on the GH prep, all those little things that you even forget yourself till you do it again. But it's still an awesome feeling to stand back after know, I did that and it's a good job.
-
Permalink Reply by Mr. Python on December 16, 2014 at 3:23pm
-
Had a productive day and a bit.
I got home early on Monday, used the gap to build the raft for Rod's Deep Water Culture (DWC) tank.
I did an improved version of mine. A pipe float with a deck and neoprene inserts to hold the plants. I used 50mm PE pipe. Mine was made with 40mm PVC but that could use a dash more buoyancy
I got a bought a damaged carpet protector from work as the deck
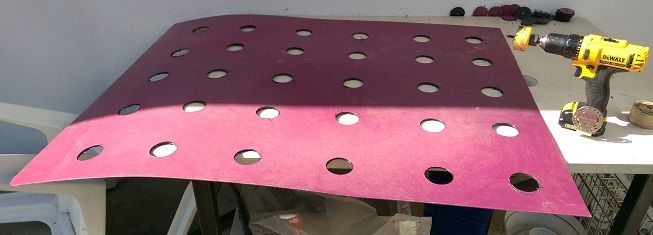 Strapped them all together and cut some neoprene inserts
Today it was off to Rod's to finish the piping for the DWC tank, add the air stones to the fish tank and the DWC tank and tidy up.
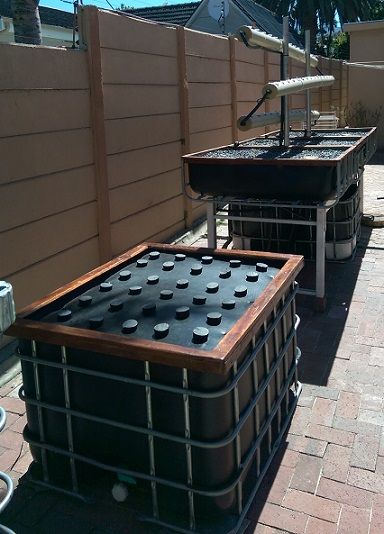
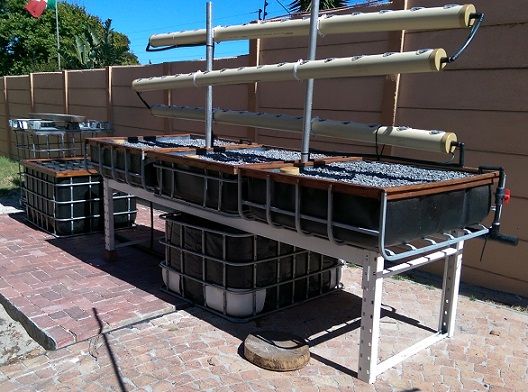
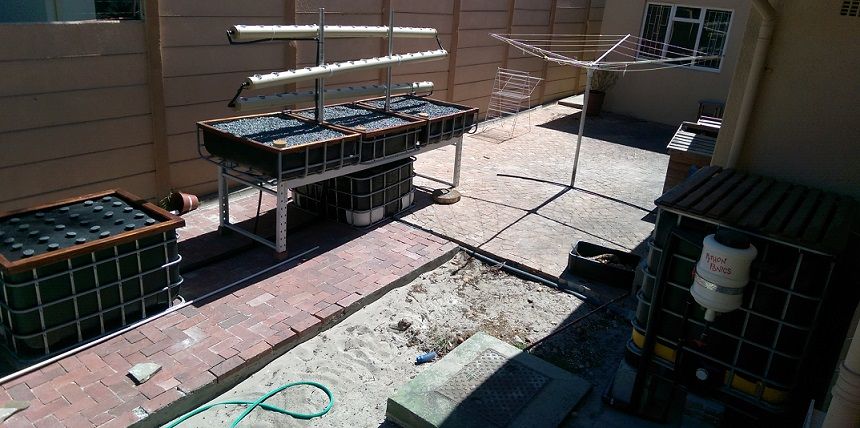 This is a serious system and, though it pains me, I think I am leaving it in good hands
I will be helping them through the cycling process.
© 2025 Created by Sylvia Bernstein.
Powered by
![]()
